Showing posts with label Thrift Store Finds. Show all posts

Tuesday, October 11, 2011

Halloween Mantel

I love Halloween!

Seriously.

I do.

It's like my favorite decorating holiday. For real.

So without further ado, let me present the Halloween mantel!

(cue Monster Mash music)


You know what the best part of all this was? I had everything!
Let's all take a moment to embrace the hoarder inside us.


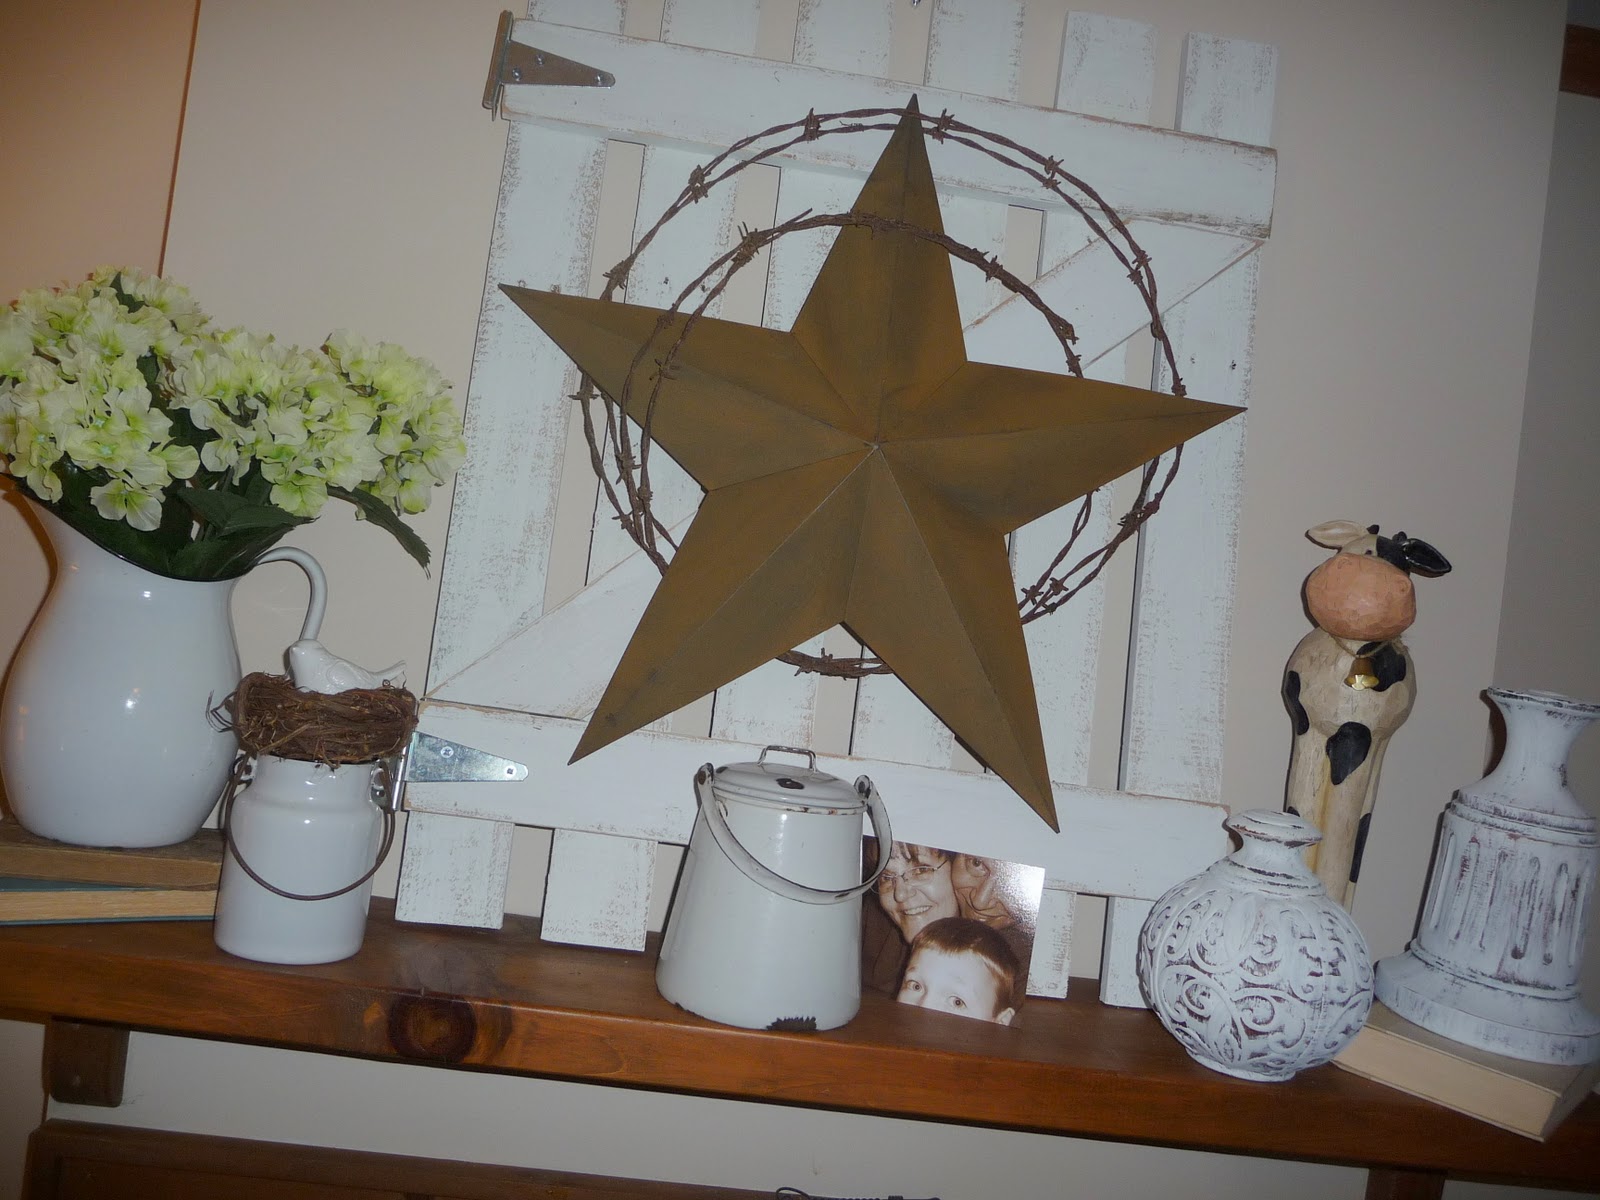
I left my pallet gate up there (it's very versatile). Hung up on the corner is a witch's hat.
The mantel is draped with a black scarf from an old bridesmaids dress. The black fabric pieces hanging are actually an old slip cut up.


The tombstones (large and small) are styrofoam ones as is the dagger (all from past Halloweens).


Candle holders are from a garage sale, the skulls are plastic and from Dollar Tree (last year) as is the crow and black rose. A sheet of music paper, spanish moss and spider webbing rounds it all off.


I put some battery operated pumpkin lights behind it for an eery glow at night (they have different color settings, I leave them on blue). 

So, there it is, October's Halloween mantel! I really like how it turned out.


Happy Haunting Everyone!


Linking to these fun and fabulous linky parties:


Sunday, April 10, 2011

Garden Bicycle

I think I may have mentioned before that I have a brown thumb.

Brown.

But that's okay because brown is my favorite color.

However, I do love spring and flowers and things blooming and watching my husband plant things that actually grow and don't turn my favorite color. I give kudos to all you green thumb gardeners out there.

So I've been seeing cute little garden bicycle planters around the internet. Ones that were made to be planters, not a bicycle that somebody rode for years and years and years and it got all rusty and yucky and your husband finds it in a trash heap and drags it home and you stick it way in the backyard out of sight and out of mind until you start seeing all those bicycle planters on the internet.

Oh yeah.

So lo and behold I walk into our doller store and find exactly what I had been looking for, some wire baskets and that basket filler stuff, which I'm sure you gardeners out there know the scientific name for, but to me it's basket filler stuff. 


Then I pulled out the rusty old bicycle, complete with dry rotted tires, and cleaned it up. Well, hosed it down anyway.


I really wasn't too sure about this, but continued.

I love when my son wants to help, so he hooked up his old tractor (given to us for free, don't worry, there is no cutting deck/blades on it) to our trailer and carted everything to our garden spot.


We then zip tied the baskets to the bicycle (ya gotta love zip ties). Note the concentration, he was really into the zip tieing.


After that, we put potting soil and ivy in the basket filler thingies then put them in the baskets. I decided on ivy as I'm hoping it will grow and trail down and out of the baskets.


Isn't it pretty? Well, not sure pretty, but fun? Unique? Rusty?


Next to my weeping cherry (love) and my old garden seat.


I know, our grass is still in a sorry state, but it should perk up soon. I just wanted to get some pictures while the weeping cherry was still in bloom.


Thanks for looking!

Until next time,

Linking up to these fun & fabulous linky parties:

Sunday, March 13, 2011

Thrift Store Lamp Makeover

Pottery Barn does it again darn it! I don't know why I get that catalog. It's a love/hate relationship. I love looking through it getting loads of inspiration, then get sticker shock looking at the prices.

For example. Finials. I love old finials. Love them. Do I have any? No. Does Pottery Barn have any? Yes!

Let's drool for a little bit shall we? All images courtesy of Pottery Barn.

Decorative Finials:


Lamp Finials:

Even a Coat Tree Finial:

Aren't they droolworthy? I thought so too, but I just can't justify the cost (unless I win the lottery of course).

So, I've been on the lookout for months for something to make my own finials out of. I've been stalking our local thrift stores for candle sticks or bed posts or fence posts or lamps or something.

Then one day it happened. I was walking around one of our local thrift stores and lo and behold I spotted this beauty for $1.50:


I should have taken a picture of it at the thrift store, but there were several people hanging around and I didn't want to waste any time in grabbing it. I mean, $1.50??  I grabbed and ran buddy. Grabbed. And. Ran. All's fair in thrifting.

I knew I didn't want to turn it into a finial lamp, though that would have been awesome too. Imagine my delight when I took it apart and found it was actually TWO pieces! Awesome went to awesomeR!


My friends, there are many tutorials in blog land on how to distress things. You can prime and plaster, paint and sand, etc. etc. These are ceramic, so all I did was take my trusty can of flat white interior paint and sloppy paint them. Sorry the pic is a tad blurry, I was just excited.


*Note, hammer was not needed for this project.

After they dried, I sanded some of the paint off here and there and voila! My finials! Aren't they pretty?


So, Pottery Barn finials for appromately $120 for both:


My finials, final cost $1.50 for both (already had the paint):


Here they are in their current spot on my mantel:


Next I'm looking forward to incorporating some green in there! C'mon spring!


Until next time,


Linking to these fabulous linky parties:

Monday, January 31, 2011

A Year of Mantels - February

"All you need is love, all you need is love, all you need is love, love. Love is all you need."

So now that I have that tune stuck in your head, let's get the show on the road, it's time for the unveiling of the (drumroll please) February Mantel!

This month's mantel is brought to you by the letters "X" and "O" :-)

But before we get to that (geesh, I'm worse than a reality show host, huh?), let me admit that I did go over my $20 budget. Dagnabbit. But everywhere I went I just saw possibilities galore, and on sale to boot! That's my story and I'm sticking to it.

Items I bought:
Candlestick Topiary: $6.34 (cost to make)
"X" and "O" Wooden Letters: $2.49 each (Michaels)
White Ceramic Bird: $2.99 (Michaels)
Hardback Book: .12 at Thrift Store (75% off sale)
Berry Picks: .38 for 2 (90% off at Michaels)
Pink Christmas Bulbs: .42 for all 3 (90% off at Michaels)
Floral Picks: $3.00 for 2 at (75% off at Kmart)
Heart Picks: $1.00 (Dollar Tree)
Pink Feather Ornaments: $1.50 for 2 (75% off at Kmart)
Pink Glitter Pinecones: $1.50 (75% off at Kmart)
Music Paper Tree: $.75 (cost to make)
Pink Rose Petals: $1.00 (Dollar General)
Heart Box: .25 (Thrift Store)

Items Used But Already Had:
I love you stamp block. Picture frame and picture. Silver candlesticks. Tissue heart (made by my son in 1st grade). White glitter pom poms. Another book. Another ceramic bird. Hurricane lantern (just recently made, instructions will be posted at a later date). Paper and string for Valentine Paper Garland. Various ribbons.

Total spent on February mantel: $24.23
($4.23 over budget)

Okay, on with the show and tell:

Remember those cute Candlestick Topiary? Here they are on the mantel:


Here are two other projects on the February mantel I made but haven't blogged about yet (I will do some tutorials on them soon, I promies!) One is a music paper tree and the other a homemade hurricane lantern:


I should clue you in on something. I've decided that every month I will have a bird and a picture on the mantel. Had them in January's mantel and actually in February's I have two birds (and one picture). I wonder if you can guess what the picture will be of?

Here it is! Yup, me and my sweetie. Our wedding photo (1999). Don't we look all stiff and posed and unnatural? LOL! I don't care, I still love it, it was our wedding after all!


The "X" and the "O" were actually white until my spray paint can of Oil Rubbed Bronze got a hold of them. The tissue paper heart was made for me by my son when he was in 1st Grade.
Let's hear a collective "awwwwwwwwww."

Now some pictures of it as a whole (with the Valentine Paper Garland).

I feel like singing again.

"All  you need is love."
(and a little oil rubbed bronze)


"All you need is love."
(and a couple of thrift stores)


"All you need is love, love."
(and a hot glue gun)


"Love is all you need."
(and a family that humors you.)


Until next time :-)


Linking to these parties:

Sunday, January 23, 2011

Candlestick Topiary

Imitation is the sincerest form of flattery. I really really LOVED Jeana's Valentine Topiary over at In Place of her Crown. Did you take a peek? Aren't they pretty? So I knew I had to make a version of my own.

First I took these candlesticks I got at a thrift store and painted them. I call them my "wastic" candlesticks because honestly, I can't tell if they are some sort of plastic or wood, they are made out of a weird material and look like they were painted to look metal.


Bleh, huh? But I bought them because I knew they had potential.
I painted them a pearlescent ivory color, MUCH prettier as you'll see in the finished product.

I LOVE brown. Love love love brown. It's my favorite color, so I decided to make my topiary part of this project out of brown and pink fabric. Each topiary takes about a yard of fabric, so I used 1/2 yard of pink and a 1/2 yard of brown for each. I cut my fabric into 3" squares. I don't have pinking sheers so I just used regular scissors.


Then I just took a pencil and started poking the fabric into the styrofoam ball. It takes more fabric then you think it will, and least that's what I thought as I was cutting and poking away.


I did get a blister on my finger after poking two styrofoam balls full of fabic. But it's all for the crafting cause! Okay, so the story behind my styrofoam balls is I am cheap and styrofoam balls are pricey, at least to me they are. They are $3.50 for two of them at Walmart. What???? So, I went to the Christmas clearance section which is 90% off and found some yarn ball ornaments that had styrofoam balls inside. They are down to .20 each. I bought all they had (6) to use in future craft projects.

Back to the fabric poking. At the end I left a spot bare to poke into the candlestick where it will be sitting on top.


Then I just put it on the top of my candlestick, added some ribbon and fell in love...


Aren't they pretty???


Yes, I used two different color pinks in each one. Don't the wastic candlesticks look SO much better in that pretty pearl ivory? It's Rust-Oleum's Hammered Finished in Ivory. Love it! These will be on my February mantel for sure!

Items used and cost:
2 wastic candlesticks from thrift store: $1.00
2 styrofoam balls (Christmas ornaments on clearance): $.40
2 yards of fabic (brown and pink) from Walmart: $4.94
Rust-Oleum spray paint (already had)
ribbon (already had)

Total cost: $6.34


Until next time :-)


Linking to these parties:

Saturday, January 1, 2011

A Year of Mantels - January

Happy New Year!!

So I came up with this brilliant idea. The brilliant idea being that I want to decorate our fireplace mantel in a different theme decor each month and keep the cost of the decor under $20 per month, using new (to me) and existing items that I have. For my January mantel I decided on a snow/ice/cold theme.

I have to confess, I have had this idea in my head since decorating our mantel for Halloween this past October, but let's face it, October, November and December's decor is a given with the holidays in those months. So I really didn't want to start posting about it until January, after all I am calling this project "A Year of Mantels."

So, let's get this show on the road.  My blank canvas:


I have been gathering things for my January mantel for about the past month or so and haunting local thrift shops and after Christmas sales. Here is what I came up with to use and the amount I spent:


Thrift store finds:
 Basket with pine cones $2. Small round votive holder $.25. Urn $1.
I took this picture after spray painting everything silver. The urn was a funky gray/primer color. They actually wanted $2 for it but my husband kept saying it was ugly because it was several different colors of paint, so they lowered the price to $1 (he still didn't want me to buy it, silly man, just didn't see the potential like I did). The basket and votive holder were brass.


50% off clearance finds:
Winter swag with birds and pinecones: $12.50 at K-Mart
Glitter ornaments: $2.00 at K-Mart
White pom poms: $1.25 at Dollar General

I'm sure K-Mart is probably 75% off their Christmas stuff now, but I really, really, REALLY wanted that bird swag and stalked the store until it went 50% off and bought one.


75% off clearance find:
Holiday velvet floral pieces:  $1.00 each at WalMart

Items I used but already had:
Glass vase, silver charger, candles, silver candle holder, picture frame, book, silver spray paint, white acrylic paint, white boucle yarn, 4 styrofoam balls.

Total spent: $22.00
($2.00 over my target of $20.00)


The decor process:

First (not pictured) I spray painted the basket, votive and urn with silver spray paint.  Then I brushed white acrylic paint on the edges of the pine cones to make them look snowy. I did also try dabbing the paint brush in silver glitter but it didn't show up much so I quickly nixed that idea. Me and glitter, we don't gel well. I tend to get it everywhere! I'm sure there is some between my toes as I'm typing this.


I found 4 styrofoam balls when I dug around in my craft stuff so decided to make a few snowballs. I just wrapped some white boucle yarn I had around them.


Then I started putting it all together. Here is the silver charger with candles on it and the bird swag wrapped partially around it. The glass vase holds the boucle yarn snowballs and some of the glitter ornaments.


This picture shows the picture frame with a photo of our yard filled with snow. I love that photo because it is so serene and fits in perfect with my mantel decor! Next to that is the thrift store votive holder and basket. The basket has pine cones, some of the glitter ornaments and pom poms in it. The bird swag continues to wrap around up over the corner of the picture frame and over the basket. I love how the little birds on the swag are perched on everything. 


Here is the urn with the velvet flowers and some glitter pom poms inside. I set it on a book just to give a little more character. The bird swag continues to wrap around this and I added an extra pinecone and candle here.


And voila! The final outcome:


I just love it!

Here is an evening shot of it:

Thanks for looking. Would love to know if you decorate your mantel monthly, leave me a comment and a link to your blog as I'd love to see others!

Until next time,

Blog Archive